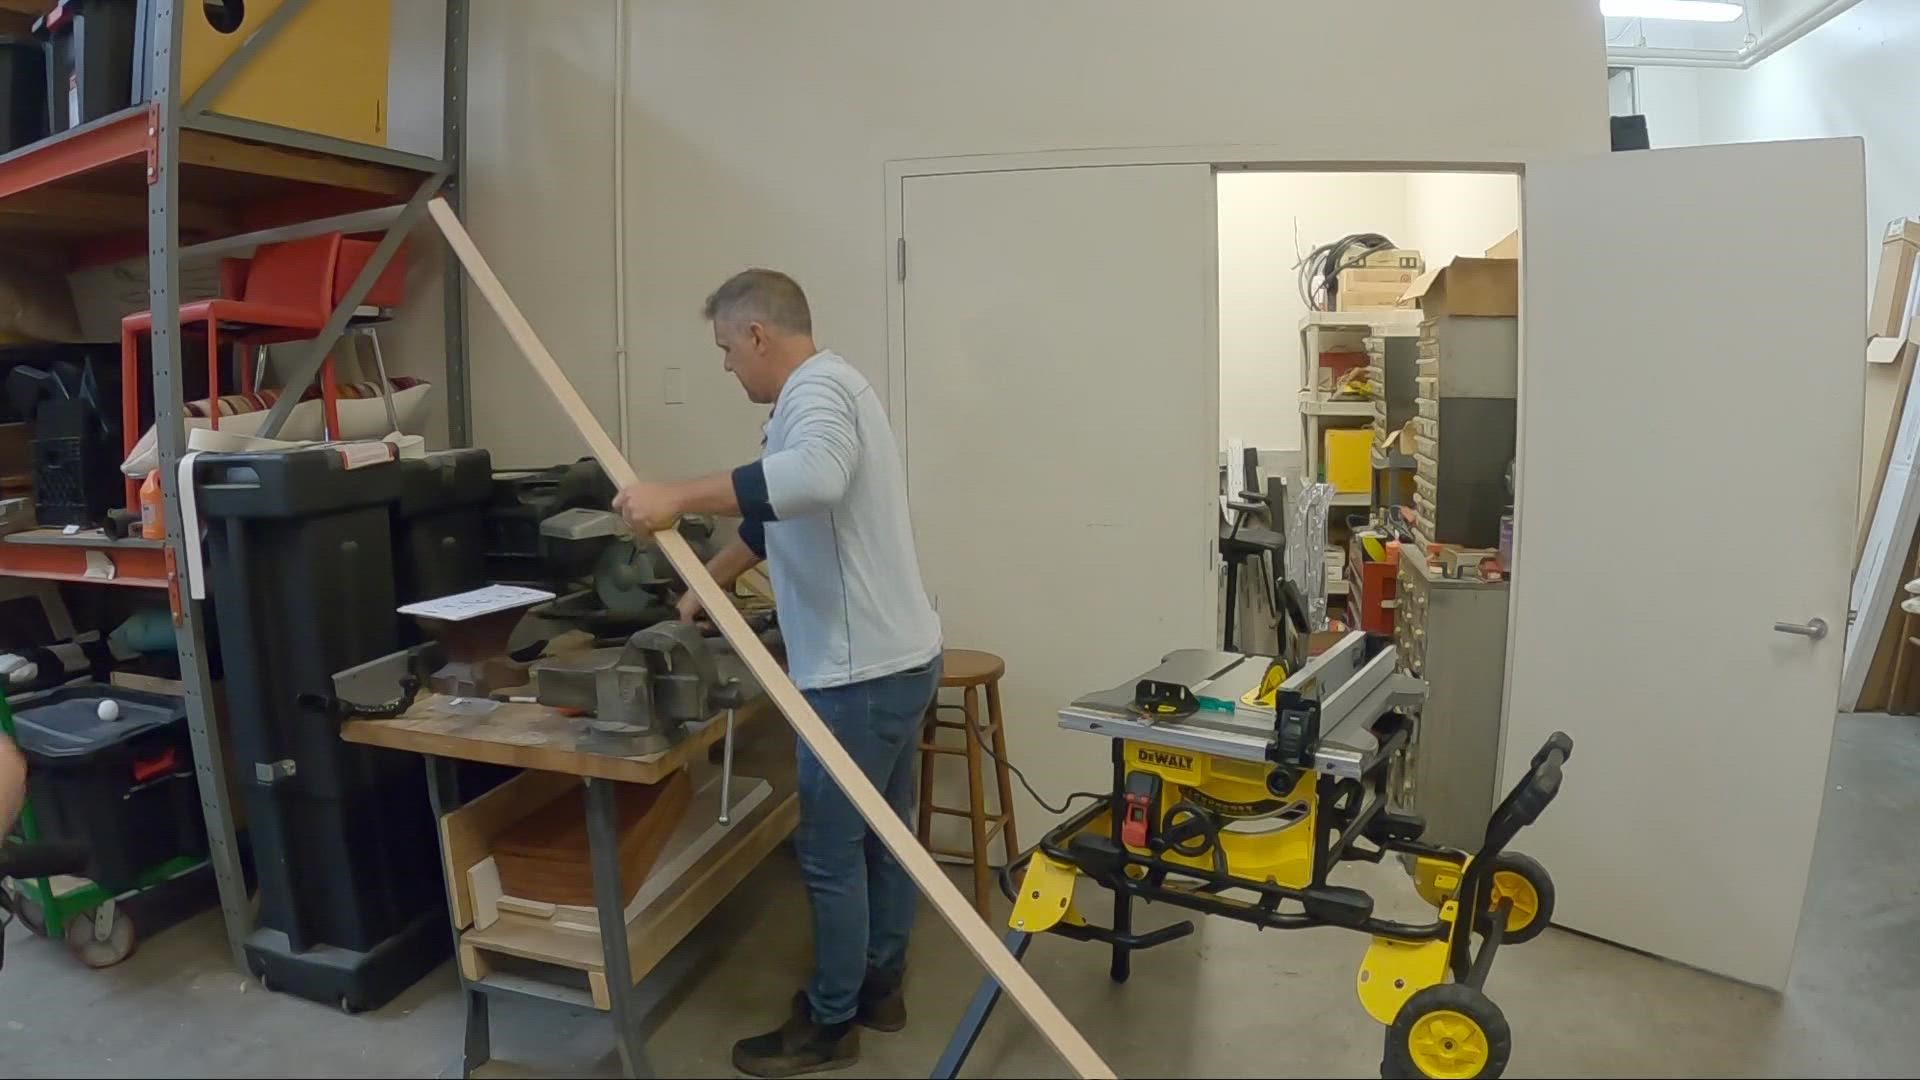
CLEVELAND — JAY DIY is expanding into the WKYC workshop, and to kick things off in the new workspace, we’re starting with a really cool project that comes from one of our viewers.
A few weeks ago, I opened a box that had been sent to me at the station that had a set of wooden picture frames inside. But there was no note with it, just a plaque with the name Frank Mungo. I assumed the frames were a JAY DIY suggestion, so thank you, Frank -- we’re going to give it a go for this week’s project.
There were no instructions with the frames, so I had to do a little reverse engineering for this one, and I drew up some simple plans. Here’s what you’ll need if you want to give it a shot at home: One 8ft by 1.5 inch wide, three-quarter inch thick piece of solid wood. One note - pine probably won't work here because we have to make some pretty intricate cuts.
- You’ll also need:
- Your saw
- liquid nails
- a power sander and sanding pads
- wood clamps
- plexiglass pieces and a plexi cutter
- And of course, don’t forget your safety glasses
For starters, we're going to need to cut four pieces that are 8 and 3/4 inches long. Make your first mark, and once you cut your first piece, you can go ahead and use that as a guide on your saw to make sure all four pieces are exactly the same length.
You’ll also need to cut two pieces that are 6 and 3/4 inches and two that are 5 inches long.
The challenging part of this project involves some intricate cuts. That’s because we have to cut grooves on the sides of many of the pieces, and we also have to leave tabs and cut slots on the other pieces for our tongue and groove construction.
You’ll need to leave a tab on each bottom piece to fit into the groove. To do that, set your blade height at 1/4 of an inch, and move the guard 1/4 inch away from the blade. Once your bottom is attached to your sides, repeat the process all the way around three sides of the frame, leaving the top unfinished for now.
Next, put some liquid nails or wood glue inside the grooves, and then use your clamps to hold the glued pieces together. I left mine to dry overnight.
Once your pieces are set, it’s time to cut your top pieces. Those tabs we left on the side pieces will hold the top pieces, so you’ll cut pieces for each side to glue onto these tabs. That will complete the picture frame.
Once those top pieces are cut, use your liquid nails once again to glue your final pieces, clamp and set.
While your tops are drying, all that's really left to do is to cut the plexiglass pieces to encase the pictures you ultimately put in the frames. You will need two pieces for each frame. One for either side of the picture. In this case, we’re cutting our plexi 4 and 5/8 inches by six and 1/2 inches.
One extra tip for this step – be sure to wait to peel off the plastic coating on each side of your plexiglass. That’s there to keep them from getting scratched while you're cutting it. After your cuts, time to peel it off. It should be nice and clean, with no scratches.
To finish it all off, you’ll add your hooks, stain your wood and hang together….and there you have it – a great set of frames courtesy of viewer Frank. Thanks for the suggestion and keep them coming!

