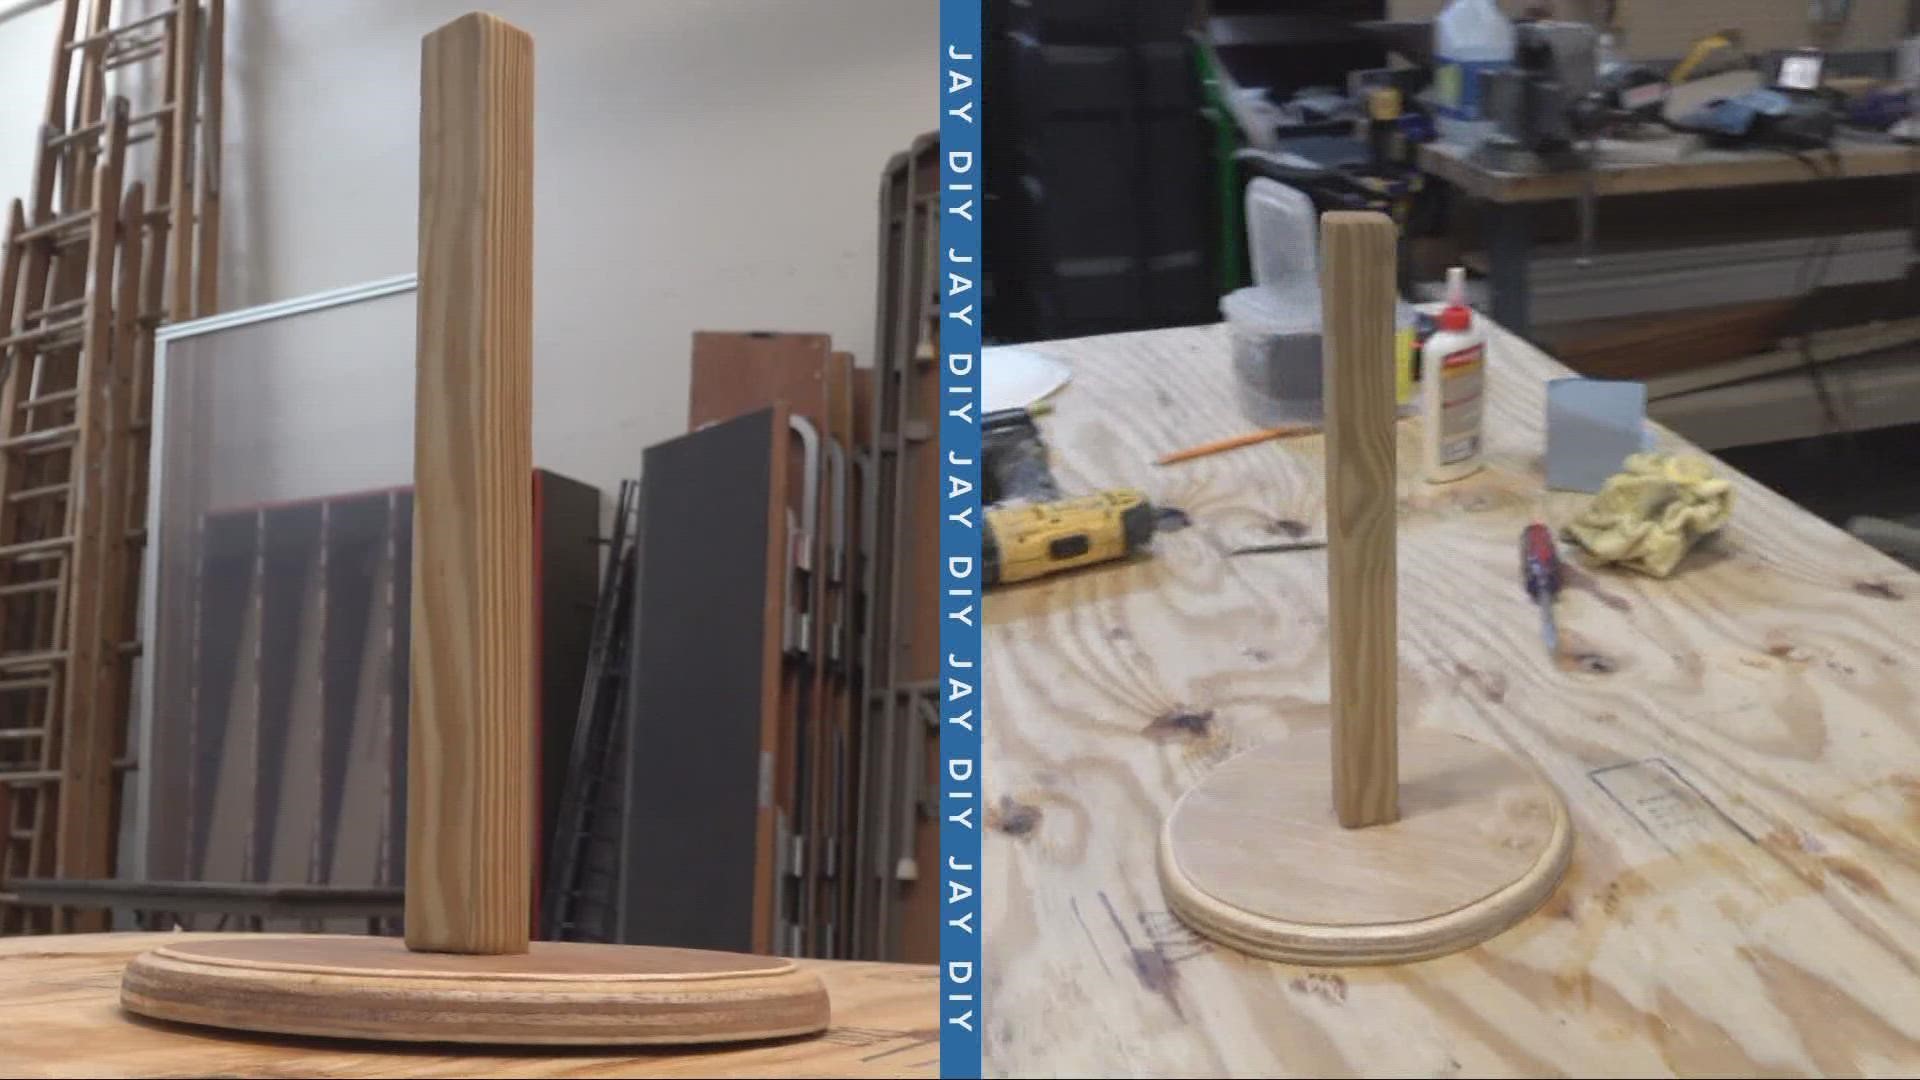
CLEVELAND — This week’s project is another simple one and it's something that every home needs.
It's a paper towel holder - and even better, this is another project you can make with scrap wood you have laying around. In my case, I used a three quarter inch piece of plywood for my base and another piece of scrap wood for my post.
Here’s what else you’ll need:
- jig saw
- power drill
- clamps
- wood glue
- 3/8 inch screw and nut
- a router if you’d like to get a little fancy.
You’ll also need a paper plate – which happens to be the perfect size for the base.
For your first step, just take your paper plate, lay it on your wood base piece and simply trace. You’ll want to make sure that it's a perfect circle because this is actually going to be the base for your paper towel holder. If your circle isn’t perfectly round, it will look funny. So tracing it carefully is very important.
Now, we can move on to our jig work. You’ll want to clamp your base piece to the table for stability before cutting. Once your base is cut, you can sand out any rough or uneven areas. Or in my case, I used a router to do that for me.
Next up – it’s time to cut your center pole. Measure about 13 inches for this to give you plenty of space on top of your paper towel roll. Make your cut and then sand any rough spots.
Now it’s time to mark where the center post will attach to your base. My base measured nine inches, so I made a mark 4.5 inches in from both sides and the cross mark is where the center post will go.
With both pieces cut and ready to go it’s time to put it all together. I suggest using a thicker and longer screw to make the attachment as secure as possible. I used a 3/8 inch screw and a 3/8 inch drill bit to drill my pilot holes so the wood doesn’t split.
Then, for some extra security, if you have some wood glue, add a drop at the contact point – just be careful about getting any excess glue on your base, because that can cause issues if you decide to stain your paper towel holder.
And finally, you’ll attach both pieces - but first, I recommend countersinking a hole into your base so the top of your nut is completely recessed in the wood and to ensure it sits flat on the countertop.
Once your pieces are attached, you can leave it as is, paint or stain your holder and you’re good to go. Enjoy!
Previous Jay DIY Projects on WKYC.com:

