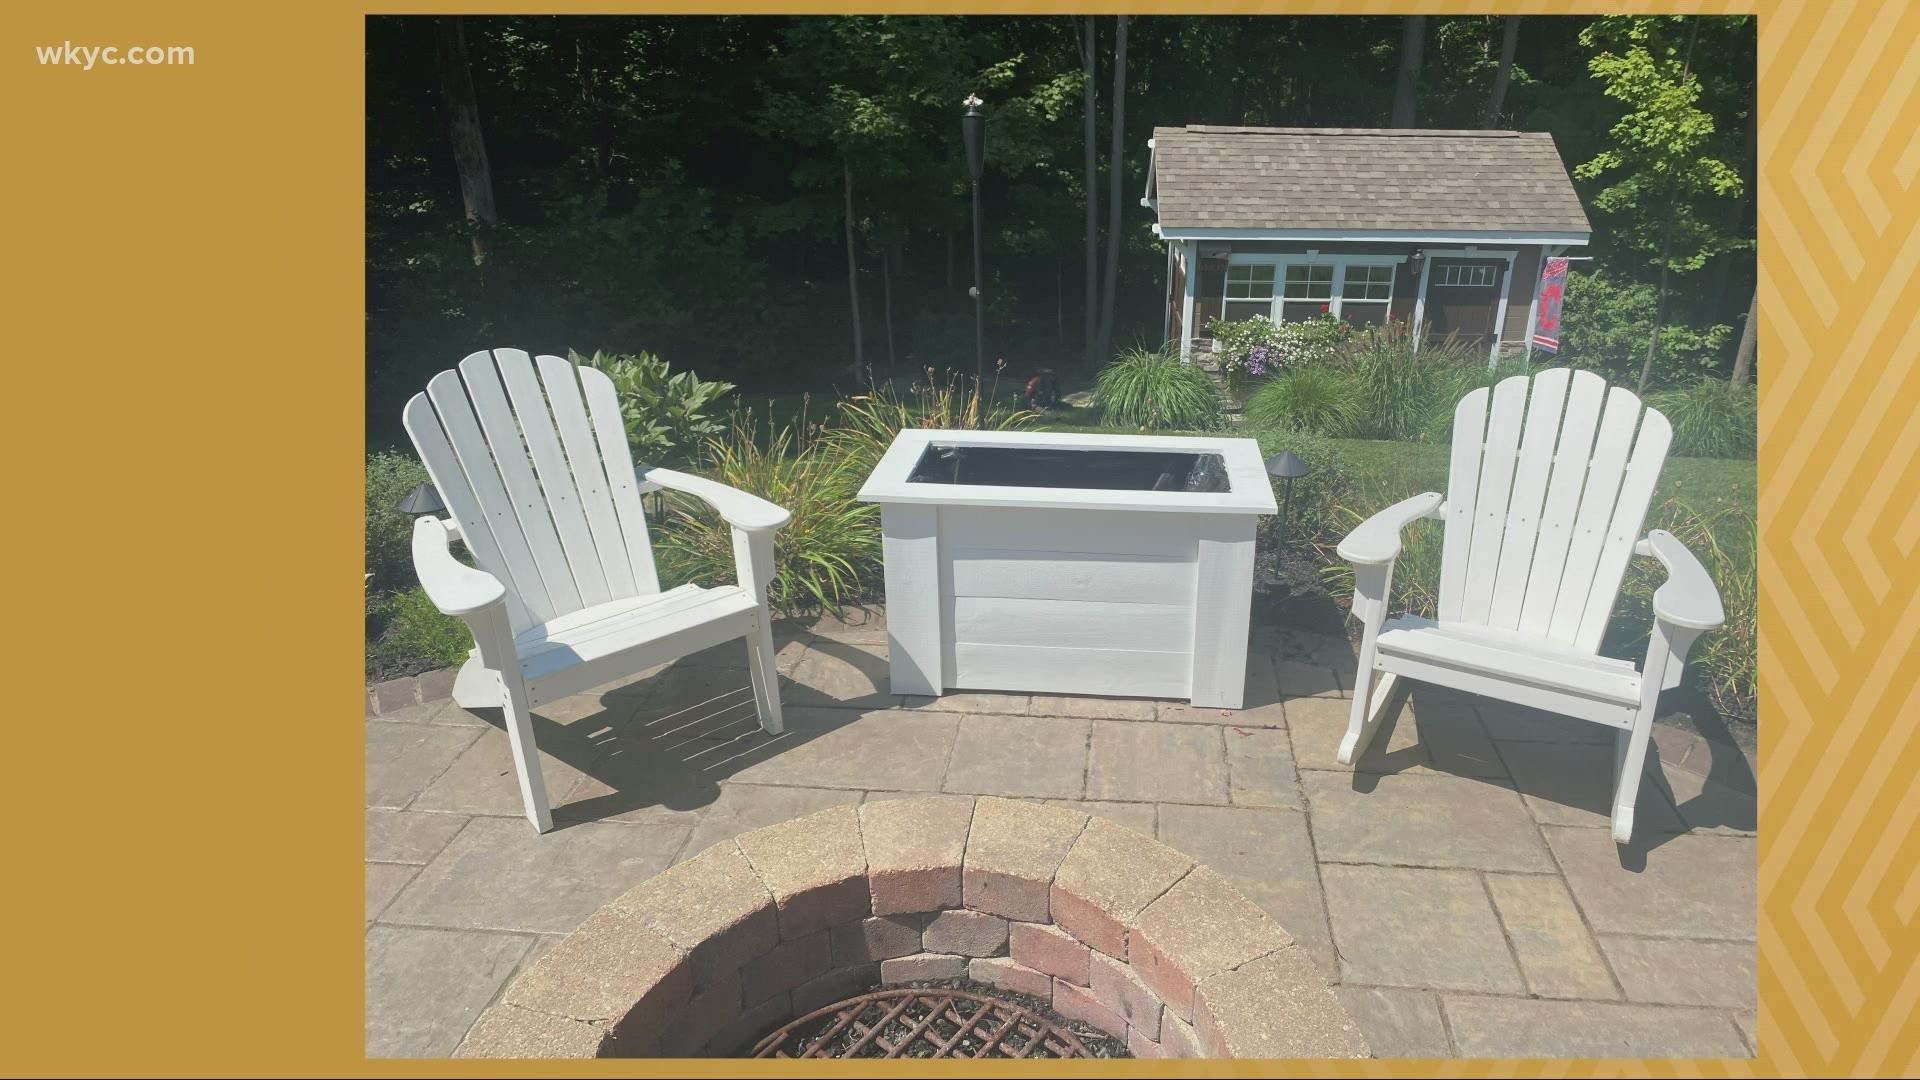
CLEVELAND — Nothing says late summer and early fall like a beautiful garden!
If you're looking for the perfect spot to display your flowers, vegetables or herbs, you don’t have to go to a store or order it online. It's easier than you'd think to build your own raised planter box. Here's how!
WHAT YOU'LL NEED:
(7) 1” X 6” X 12’ Sheets of either cedar or a treated-pine
(3) 2” X 4” X 8’ Cedar or a treated pine
Cut List:
(8) 2” X 4” 24” in length. Use 2.5" deck screws to fuse four pairs. These will serve as the box's legs.
(8) 1” X 6” X 3’ slats. These will serve as the front and back of the planter box. Use 2.5" deck screws to fuse to the legs.
(8) 1” X 6” X 18” slats. These will serve as the sides. USe 1.5" deck screws to fuse to the legs, completing the box.
(2) 2” X 4” X 28” slats. These will serve as the front and back inside rails, found a few inches from the bottom of the box. These will hold the bottom slat boards. Use 1.5" deck screws to fuse to front and back.
(6) 1” X 6” X 17.5” slats. These will serve as the bottom slats that will hold the dirt inside the box. Leave one-eighth inch space between each board for draininage.
TOP TRIM:
(2) 1” X 6” X 34” Boards with appropriate 45-degree angle cuts at both ends.
(2) 1” X 6” X 26” Boards with similar 45-degree angle cuts at both ends.
Screw these boards on to the top of the box with the angled pieces coming together, picture frame style
SIDE CORNER TRIM:
(8) 1” X 6” X 24” Pieces that form exterior corners fused with 1.5" deck screws.
Fill and sand countersunk screw holes on exterior of box for finer finish details.
Pick a great paint color and paint.
Finally, staple or tack the weed barrier material throughout the interior of the box. If your choice of barrier does not have netted holes, drill a few in the cloth to ensure proper drainage.
MORE JAY D-I-Y:
Editor's note: The video in the player above is from a previously published story.

