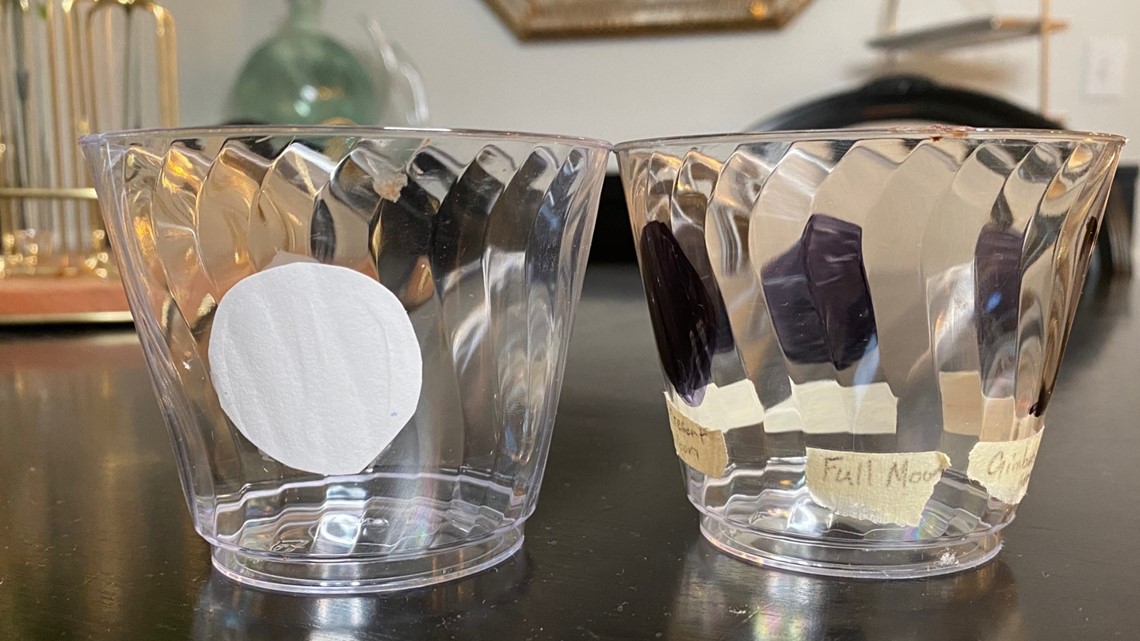
CLEVELAND — Now that non-essential businesses are shut down, we parents need to not only teach from home, but also put our "MacGyver" hats on and use what we have.
I found a fun project online that took about 10 minutes to put together with two clear cups and a Sharpie. It teaches kids the phases of the moon, which there were details I even forgot (or never learned? That would be embarrassing).
Most of us have clear cups laying around. Mine were the short ones probably intended for champagne, but work with what ya got.
On the inside cup, I glued a small circle I cut out from white scrap paper I had in the drawer.
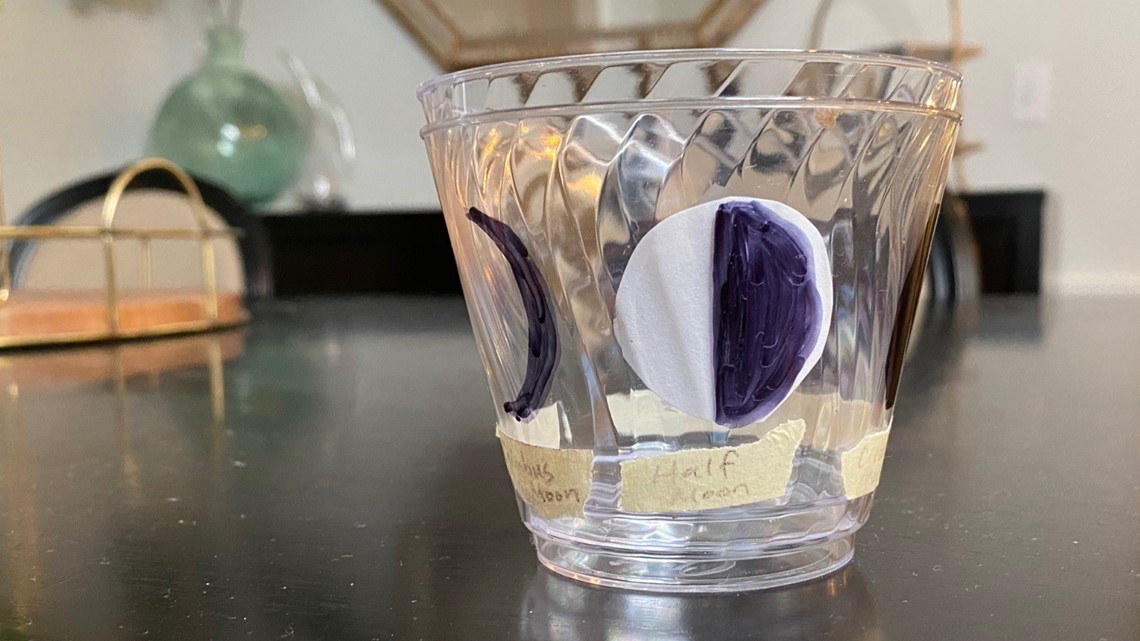
On the outside cup, I measured out eight different spots for the phases of the moon.


First, I outlined a small sliver of the right side and colored it in with the black sharpie for the Gibbus Moon. Then sliding the inside cup to make sure our moon is into the next phase, I outlined half of it, colored in half and completed our Half Moon. Then, with the next slide over, I left a sliver of the white moon and colored the majority of it with the black Sharpie for the Crescent Moon. When it's completely blacked out, it's the New Moon.
When it's finished, you'll be able to rotate the inside cup to show the waxing and waning of the moon.
Depending on your child's age, you can simply introduce them to the fact that there are different shapes and phases. You can take it up a notch and explain that the "shadows" are caused by the moon's positioning in relation to the sun (not the Earth's shadow on the moon which is a common misconception).


If you need some guidance, I found this article from Sciencing.com really helpful in explaining on a kid-level.

