CLEVELAND — Well it's been awhile, but I've been itching to get back to my tools and bring you another JAY DIY project, and today I have the perfect project for anyone who enjoys a nice glass of wine - a three-tiered wine rack, perfect for displaying your favorite bottles. It it could also make a great gift for a wine-lover in your life, and I think it's pretty simple actually.
Here's what you'll need:
- wood and wood dowels
- a saw, either a circular saw or a table saw will work
- wood stain and a brush
- wood glue and wood screws
- a T square
- one-eighth inch drill bit
- something to sand with
- drill block
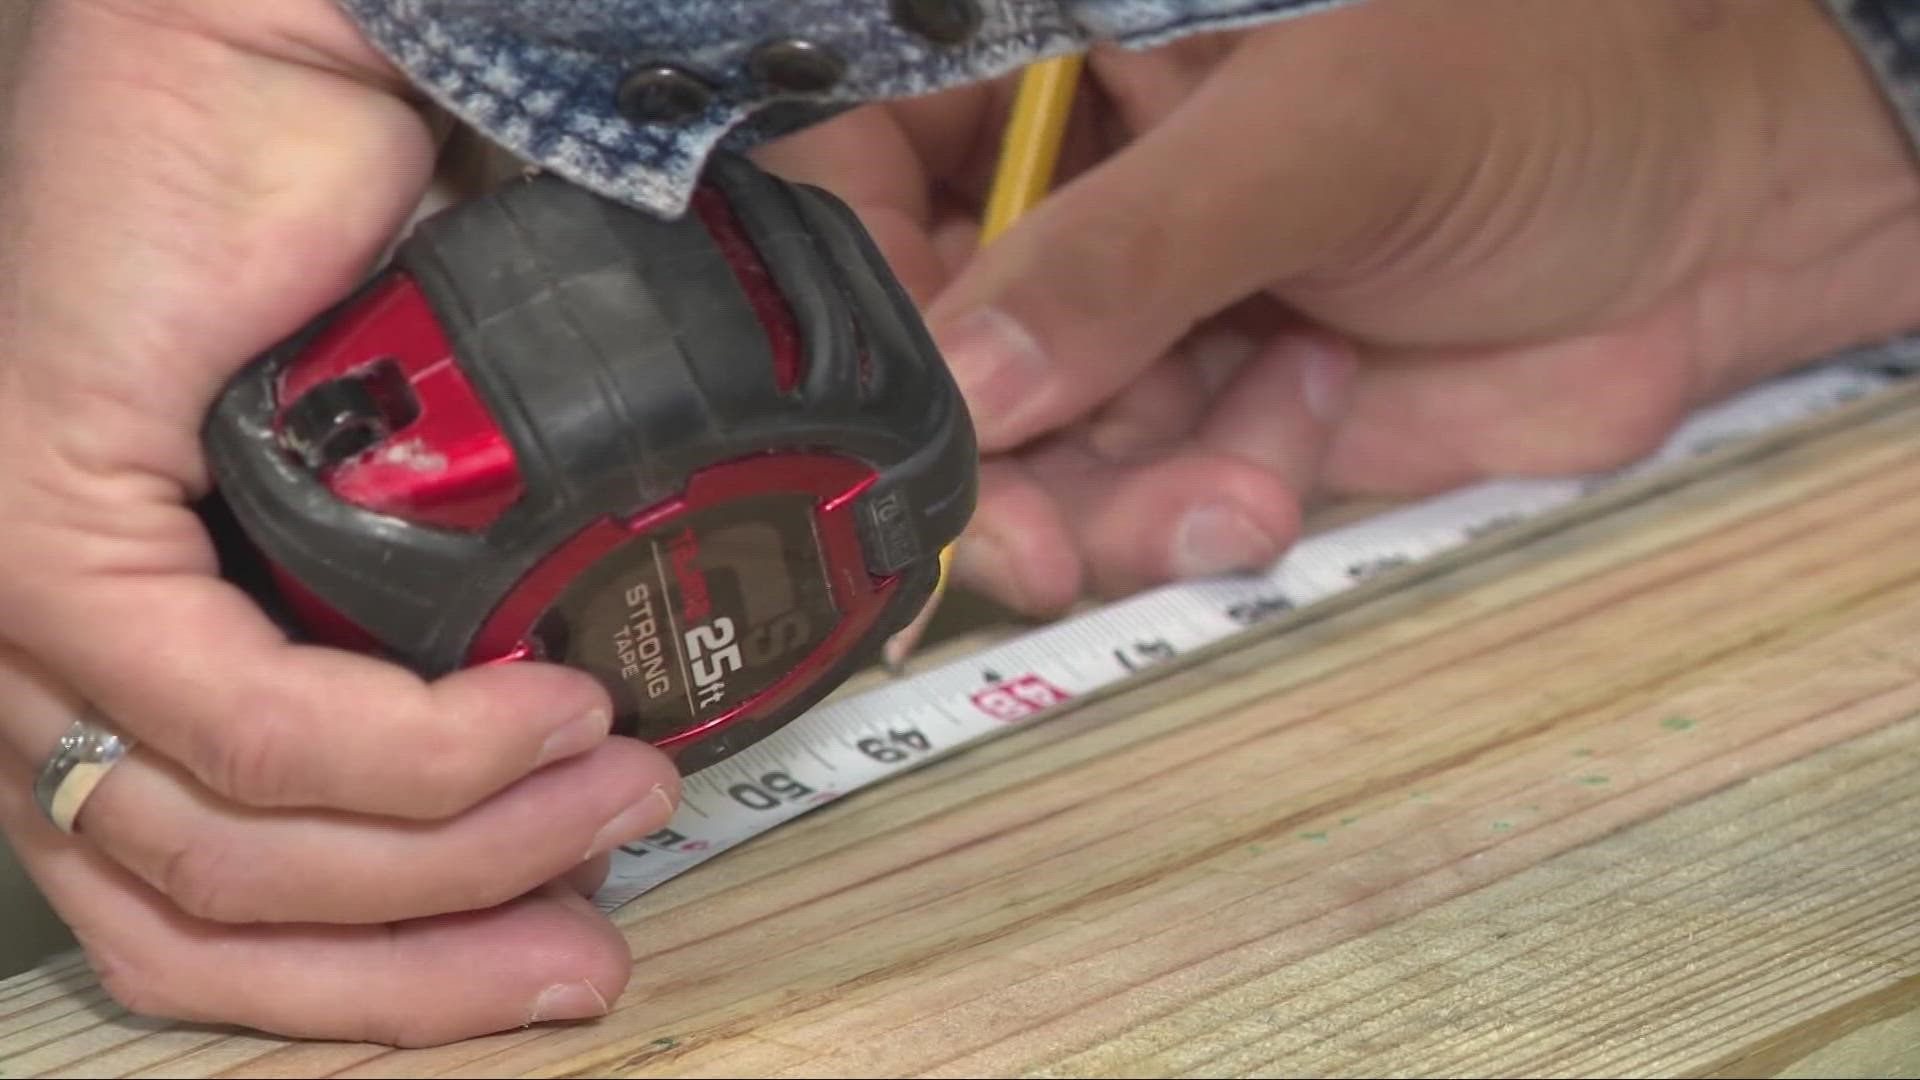
For this project, I used an oak board that’s 5.5 inches wide by 5 feet long. To start, we need to cut two pieces that are 17 inches in length, and two that are 14 inches in length. Time to measure, mark, and cut. Just don’t forget those safety glasses!
Next up, mark your holes for your dowel rods, striking a line an inch and a hlaf from each edge of two of the sideboards, to act as a guideline.
You'll also make cross measurements intersecting the line. That cross is where the center of your drill bit will go.
It's important to make sure to only go a half inch deep into your three-quarter inch sideboard, and this is where that drill block comes into play.
You'll measure an inch and a half up on the drill bit, and then strike a line across it. What that will tell us is where to stop so you don't drill too deep on your board. It also helps guide your drill to make sure you’re always at a perfect 90 degree angle.
Once you've drilled all those holes, six in each side, it's time to start putting everything together. But first, be sure to take the time to sand. I personally spent a good 30 minutes sanding all sides of all four boards - first with medium grit, then fine grit. Trust me, that's effort that’s well worth it in the long run.
Now it's time to drill pilot holes into the bottom sides. And to do that, use the drill block to make sure all holes are perfect 90 degrees.
Next it’s time to cut those dowel rods, which need to be 14 and a half inches in length. Remember, you’ll need six of them.
Once the bottom and side pieces are connected and all six dowels are all cut, its time to connect the other sides, and once it’s all assembled, tightened and stained, your wine rack is all ready for your favorite bottles of vino.... enjoy!


